Yoghurt is one of those items that is constantly on my shopping list. At the beginning of each fortnight I buy what I think will be enough to see us through until the next shopping day, but inevitably I end up buying more before the first week is out. I’m not complaining, I would much rather they reached for some yoghurt for afternoon tea than a couple of biscuits, but do we really know what goes into that unnaturally thick goop they package so attractively to target our kids?
I’m a comparison shopper, especially since my daughter was diagnosed with Type 1 Diabetes almost nine years ago. I compare everything from the price to the ingredients to the fat and sodium content before making my decision, and yes, that makes for some very long shopping trips, but you would be surprised what they try to slip past consumers these days. And sometimes I find that the yoghurt packaged for kids is the same price, if not cheaper per 100 grams than the tubs. But it’s not the yoghurt I remember from when I was a kid. It doesn’t have that tartness about it (I wonder why!), it’s much thicker, and it’s definitely sweeter and more dessert-like don’t you think? Well this yoghurt reminds us of the Bornhoffen Yoghurt we used to buy and Mr8 has requested an Apricot batch this weekend so I know what I’ll be doing on Saturday.
I’ve often read on different blogs I frequent about the writer making their own yoghurt, but I imagined it to be some long drawn-out process requiring all sorts of equipment that I’m not prepared to purchase on the chance that we like the end product. Wrong! All you need is a crockpot, in fact you don’t even need that, and while it does take several hours to turn milk into yoghurt, you will do little more than pour 4 litres of milk into your crockpot, put it on a low setting and walk away for a couple of hours, come back, pour in some natural yoghurt and walk away again. I’m not kidding, it’s that easy.
I did learn a few things during this process, like I spend way too much money on yoghurt, ummm I should have done more research before starting out because I picked up a few more useful tips that could have given me a better outcome first time around, and that the longer you let your yoghurt sit fermenting past the 8 hour mark, the more tart your yoghurt will be. Wish I had picked that one up before I started out, but not to worry, the kids are eating it anyway. I actually let mine sit overnight, but it may be a good idea to choose a day when you are going to be home for the entire day and start straight after breakfast so the process is complete before you go to bed.
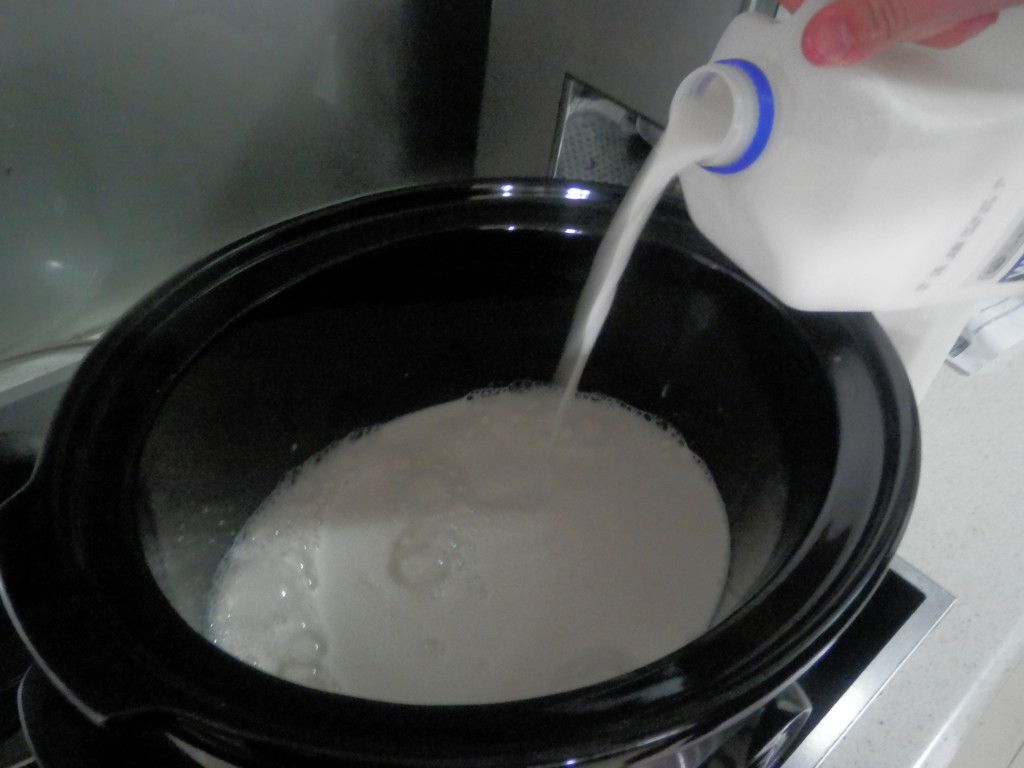
And the kids can help you with this recipe. There’s not much to do, but my lot thought pouring a whole bottle of milk out all at once while mum took photos sounded like fun, then they put the lid on and turned it on for me. And I think the fact that they helped me make it encouraged them to actually try it once it was done. They were also my taste testers when it came time to decide on an appropriate sweetener.
I came across the original recipe at Stephanie O’Dea’s http://crockpot365.blogspot.com.au/ (A Year of Slowcooking). Stephanie used her crockpot for a staggering 365 days. In a row!! So I think this lady knows what she is talking about when it comes to crockpots. I’ve mentioned some of her recipes here before, like the Rotisserie Chicken that we like to take on picnics. But Stephanie’s recipe doesn’t include sugar, and other recipes suggest sugar is needed to activate your starter (the Natural Yoghurt), and this makes sense to me because you do the same thing with yeast. So I’m adding some sugar to the recipe. I’ve made a few other changes when adding the fruit purée and gelatine, but I think most of the base recipes I found were relatively the same.
So this is what I have done, you might like to do some investigating yourself before starting out, but this is what works for me.
Crockpot Yoghurt
Ingredients:
4 Litres Milk (I used full cream)
1/2 Cup Active Culture Plain Yoghurt
1 Tbl Sugar
Optional Additions:
Gelatine (I used 6 teaspoons, but I may use a little more next time)
Fresh or Frozen Fruit to flavour (I used one box of frozen Strawberries)
Honey, Sugar, Stevia or any other sweetener that takes your fancy. I like a little sugar the best.
Directions:
Pour the milk into your crockpot, put the lid on and switch to the Low Setting.
Walk away for 2 1/2 hours.
After 2 1/2 hours have passed unplug your crockpot and leave it sit for another 3 hours.
When you come back the milk should be luke warm.
Take 2 cups of milk out of the crockpot and combine in a jug with the plain yoghurt and sugar.
Pour this mixture back into your crockpot and whisk to combine.
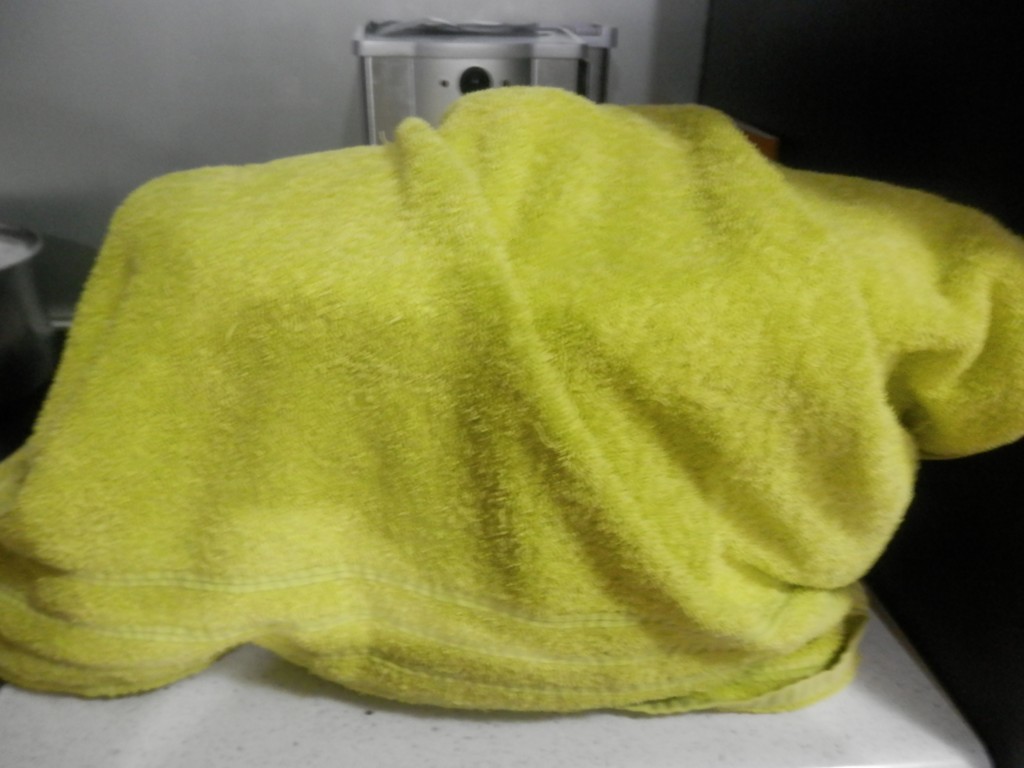
Place the lid back on your crockpot, leave it unplugged and wrap the entire crockpot in a thick bath towel and leave to sit for 8 hours.
Remember, the longer you leave your yoghurt to sit beyond the 8 hour mark, the more tart it will be!
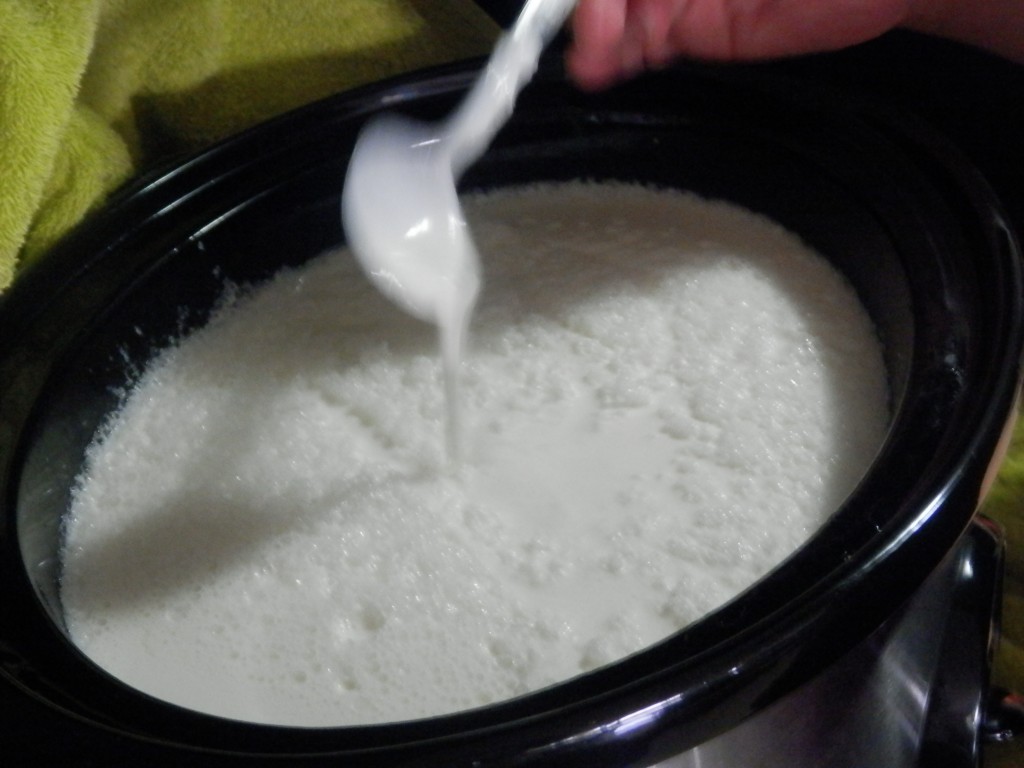
After 8 hours my yoghurt looked like this, remember this is before any gelatine was added to thicken it.
It’s not as thick as store-bought yoghurt, but after I added 6 teaspoons of gelatine dissolved in a little warm water to the 4 litres of yoghurt and let it sit overnight, I would describe it as being the consistency of a bottle of thickened cream. I think a little more gelatine is required, so I will be experimenting.
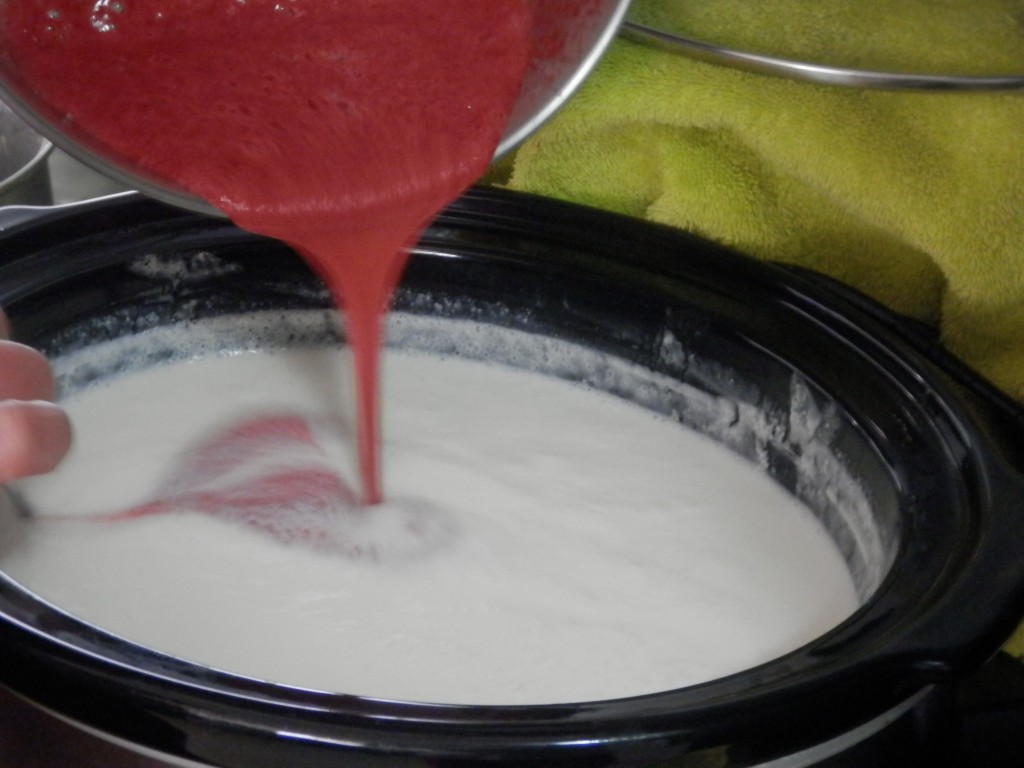
At this stage you can stir in your puréed fruit combined with the gelatine dissolved in a little warm water.
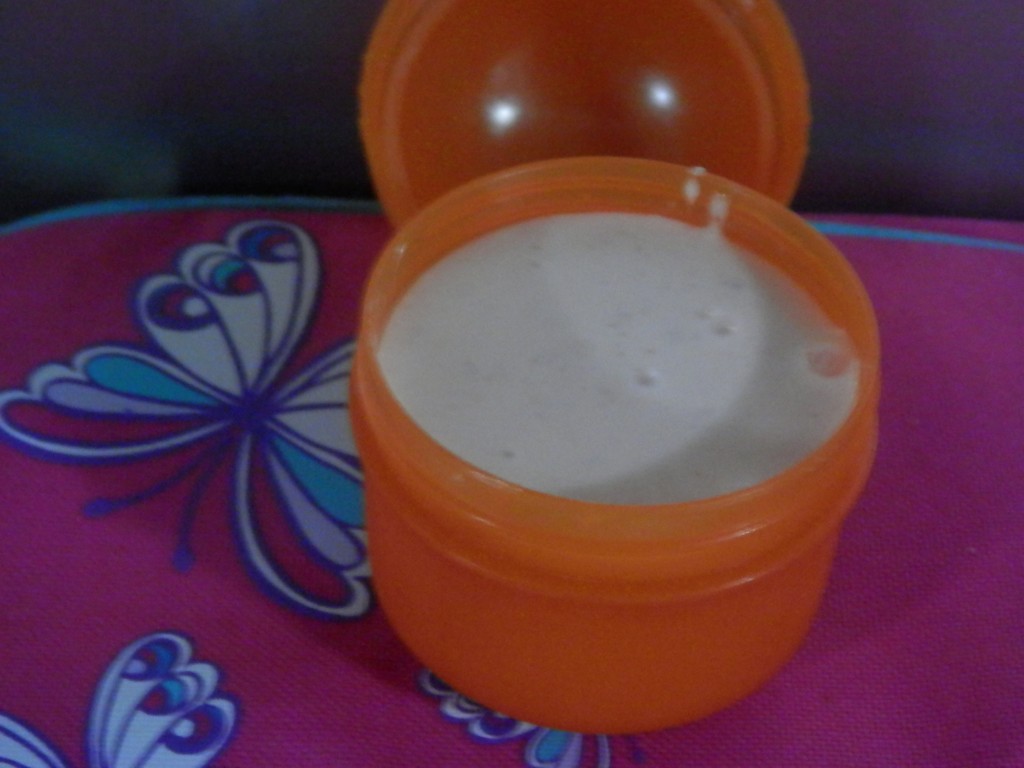
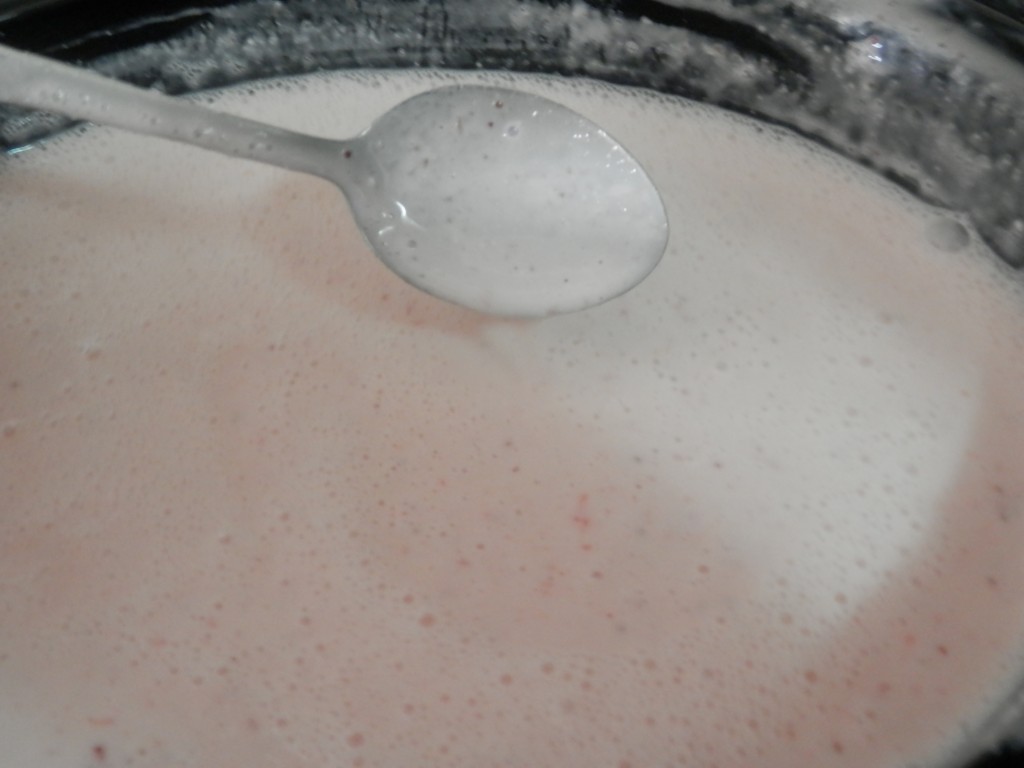
Give it a good stir, and it should look something like this.
There will be bubbles for a little while after you add your fruit, but don’t worry, they will settle.
Next time I’m actually going to make a strawberry sauce and let it cool while the yoghurt is cultivating. This involves puréeing your fruit, placing it in a saucepan adding sugar to taste, putting it on a low heat on the stove until it becomes syrupy, then letting in cool before adding your gelatine dissolved in a little warm water. And this is the mixture I will be using to flavour and sweeten my natural yoghurt.
Even though it wasn’t perfect the first time round, the kids love it and are taking it to school in their lunch boxes, and apparently their friends are very impressed (which always helps). Even The Vegemite Kid has been asking for little tastes every now and then, which is an achievement in itself.
It’s trial and error really, but I definitely think it’s worth doing. Yes, it takes a total of 13 1/2 hours to make and then flavour, but there’s next to no effort involved and when you take into consideration that it costs $4 for the milk, around $5 for the frozen fruit (fresh strawberries have been around $7 for a 250g punnet here lately!) and a maximum of $2 for the 1/2 Cup of Natural Yoghurt, Sugar and Gelatine, you’ve only spent $11 for 4 Litres of Yoghurt instead of at least $20. And if you keep some unflavoured yoghurt to use as your starter for your next batch it will cost less. That makes it around half price! And that sounds as good to me as the Strawberry Yoghurt Muffins I’m about to make for tomorrow’s lunch boxes.

